An under-desk walking routine does not fail because you lack willpower. It fails because the pad is set up in a way that makes walking harder than sitting, and because nothing in your day ever reminds you the thing exists. I have watched that happen in my own office twice, with two different pads, before I figured out what the actual problem was.
The fix is not a better pad. It is a setup you can operate without looking down and a record you cannot ignore. Get those two things right and the walking becomes the easy part.
Here is the whole build, in order: what breaks the habit, the two pieces of gear that decide it, the desk measurements you take before you touch the speed control, and the eight-week ramp I would give anyone starting from zero.
Why you should trust me
I spent nine years as a backend engineer sitting ten hours a day, and at 31 an L5 disc herniated. My physical therapist gave me one instruction that mattered: move every hour or pay for it later. I rebuilt a home office around that instruction, in Austin, and I have been measuring the result since.
There are three walking pads in this house right now. There is a tape measure on the desk, a step counter on my wrist, and a spreadsheet of decibel readings I take at ear height while the belt is moving, in the same room, at the same speeds. I do not trust a manufacturer number taken at idle, and neither should you.
That is why I review pads the way I do. A walking pad is a medical device with a marketing problem. If it cannot hold 2 mph at a noise level you can take a call over, it is an expensive footrest. And under-desk treadmills are not treadmills. Comparing them to gym equipment is how people get hurt, so nothing below involves running.
What actually breaks an under-desk walking routine
Four things, roughly in order of how often they kill the habit.
Speed. People start at 3 mph because it feels like real exercise, then discover they cannot type, then stop walking. Working speed and exercise speed are different numbers on purpose.
Fit. Deck height, belt width, and desk height are a system. If your knees hit the underside of the desk at the incline you want, you will not use the incline, and then you will not use the pad.
The remote. This is the most important feature nobody tests. I touch mine about 40 times a day, mostly to nudge speed down for a call and back up afterward. A remote that needs line of sight to the console is a remote you will stop reaching for.
No record. If nothing in your day shows that you walked, week three is where it dies. That is a boring answer, and it is the true one.
So the setup has two jobs: make the pad operable without looking down, and make the walking visible somewhere other than your memory.
The two pieces that decide whether this works
One machine to walk on, one place to write down that you walked. That is the whole kit. Everything else in a home office setup is optional, and most of it is a distraction from these two.
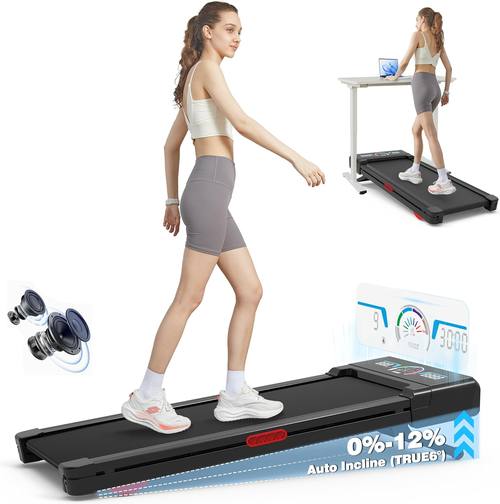
The pad: Walking Pad Treadmill 12% Auto Incline, Under Desk Treadmill
 Visit on Amazon →
The reason I would build a routine around this one is in the name: 12% auto incline. Incline is the most underrated control on an under-desk treadmill. At 1.5 to 2 mph on a flat belt, your heart rate barely moves, and the fix most people reach for is speed. Speed is the wrong lever, because speed is exactly what wrecks your typing. Raising the grade instead adds load to the walk without changing your cadence, so your hands stay steady while your legs do more work.
The auto part matters as much as the incline. If changing the grade means stopping, stepping off, and adjusting something by hand, you will do it once. If it is a button on the remote, you will actually use it on the days you feel flat.
Two measurements before you order. First, deck height with the belt flat and again with the incline engaged, because an inclined deck raises the front of the belt and your knees come up higher. Second, the clearance under your desk at its lowest usable height. If your desk is already near the top of its travel, an incline walk puts your knees into the underside of it.
Flaws but not dealbreakers: An inclined belt is not the same as walking up a real hill, and the belt gets louder as the grade goes up. That noise number will not be on the box. Also, this is a walking machine. It is not built for running, and you should not run on it.
This is for the person who wants one machine that does a flat 1.5 mph typing walk in the morning and a harder 2 mph incline walk on a call in the afternoon, without buying two pads.
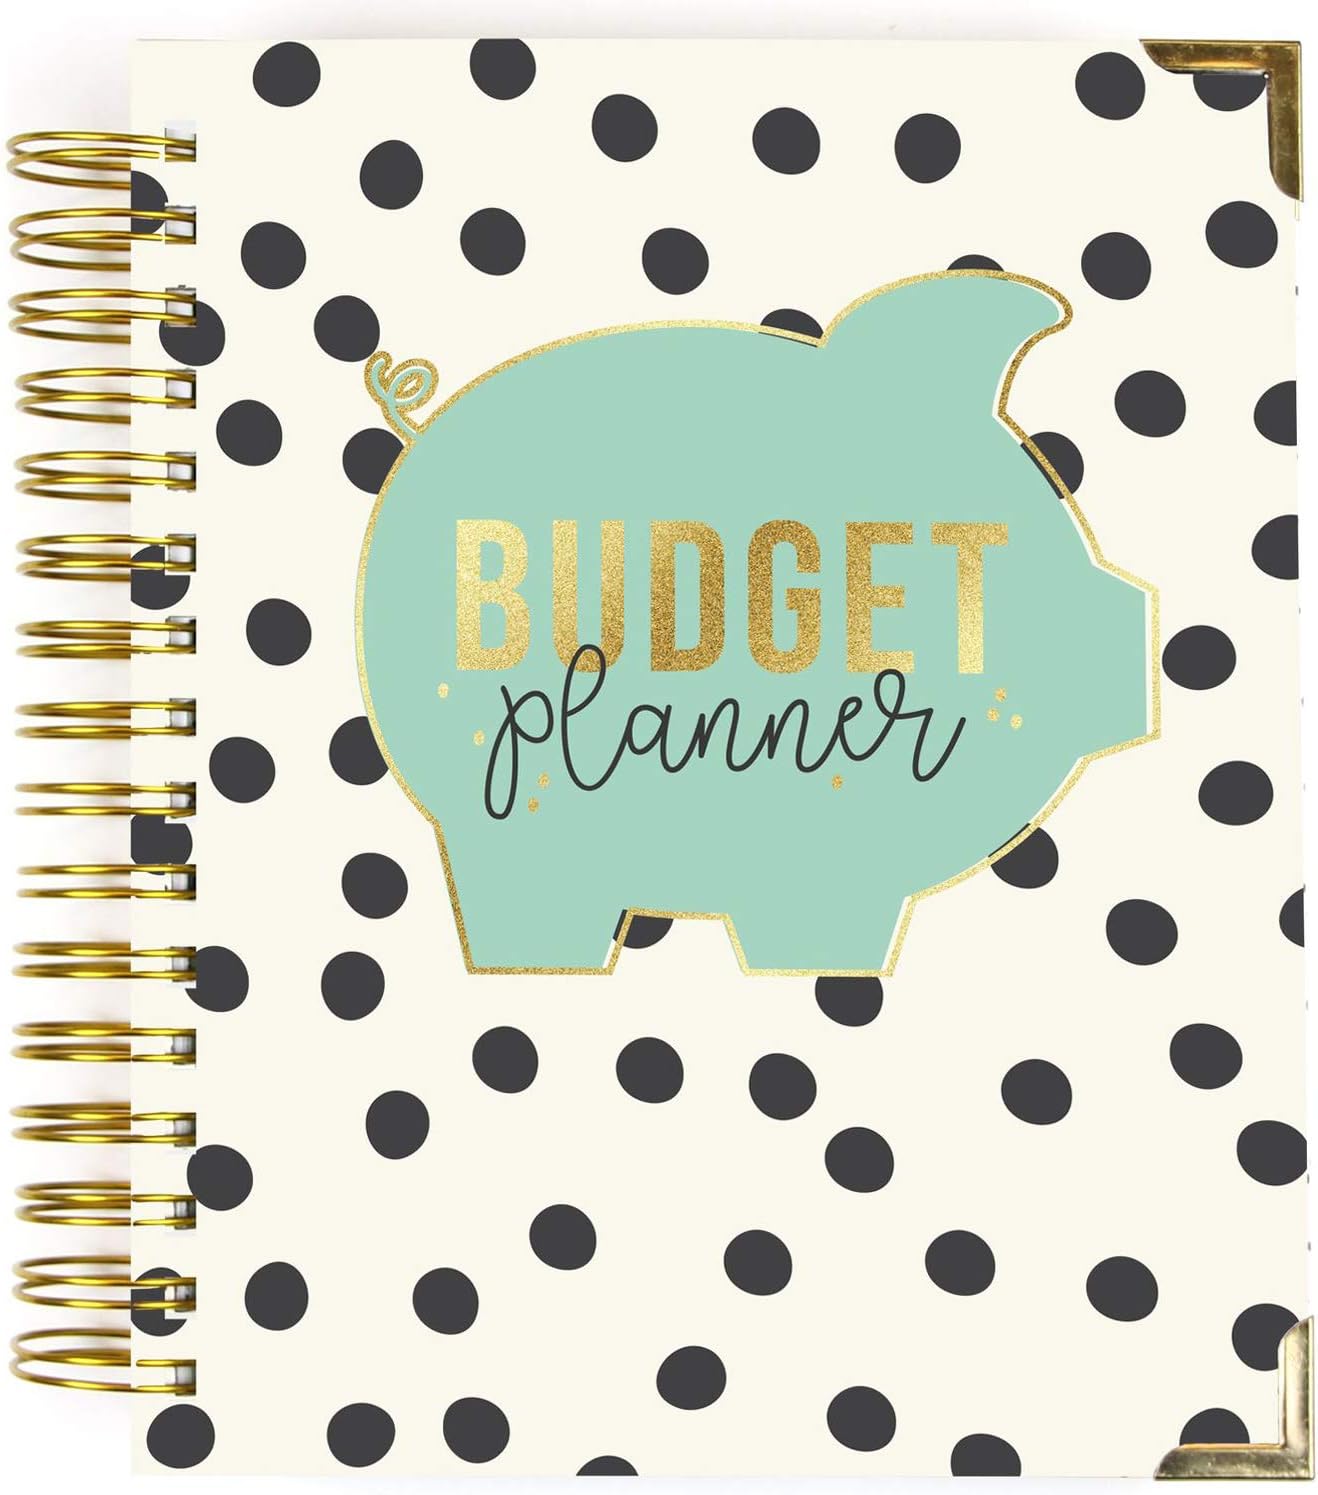
The record: Pukka Pad, Carpe Diem Budget Planner Spiral Bound Notebook with 12 Month Calendar, Dividers, Inserts, and Sticker Sheets
 Visit on Amazon →
This is a budget planner, not a fitness log, and it is here for a reason that has nothing to do with walking form: an under-desk walking routine is a money problem as much as a movement problem. You are buying a pad, probably a desk that adjusts, and maybe a mat. The only honest way to know whether that was a good decision is to count the days you actually used it.
The spiral binding, the 12 month calendar, the dividers, and the sticker sheets handle the scheduling half. Write your walk blocks into the calendar the way you write meetings, because that is what they are, and use the dividers to separate months so you can flip to the current one without hunting. The savings goals and tracker pages, the financial overview, and the bank information section handle the math half: total spent on the setup, divided by the number of walk days you logged, gives you a real cost per day. Watching that number fall is a better motivator than any notification, because you did the arithmetic yourself.
The sticker sheets are not decoration. Put one on a day you walked and you will notice the gaps. That is the entire mechanism, and it works better than an app you have to unlock.
What it is not: a fitness tracker, a medical record, or anything you should use to reason about a back problem. It is paper with a calendar in it. Check current Amazon price.
Flaws but not dealbreakers: It is a paper planner, so it only works if it lives on the desk where you can see it. Mine sits under the monitor where I have to move it to sit down. If it ends up in a drawer, it is doing nothing.
Set the desk up before you set the speed
Do these five things in one sitting, before your first walk. None of them take more than a few minutes, and all of them are cheaper than returning a pad.
Step one: desk height. Stand at the desk. Elbows bent to about 90 degrees, forearms level, wrists flat. Walking changes your posture more than sitting does, so a desk that felt fine seated is often an inch or two too low standing.
Step two: deck height and clearance. Measure the deck with the belt flat. Then measure it again with the incline engaged. Subtract the larger number from your desk's lowest usable height. You want a couple of inches of clearance above your knees at the steepest grade you plan to use.
Step three: belt width. Walk at 1.5 mph and watch where your feet land. If you are clipping the edges at 1.5, the belt is too narrow for you at 2.5. Belt width is one of the few specs where more is simply better.
Step four: the remote. Find the spot where your hand falls without you looking. Mine lives at the right edge of the desk. Practice changing speed by feel three or four times before you start walking, because that muscle memory is what keeps you from stopping to bend down.
Step five: know how it stops. Once, while you are paying full attention, step off at low speed with the belt moving and see what the pad does. Confirm how the safety stop works before you need it. Do this on day one, not on the day something goes wrong.
The routine that survives week three
The ramp below is deliberately slow, and the rule behind it is simple: never increase speed and duration in the same week. Pick one variable per week or your body will tell you about it in your shins.
Week one: 15 minutes a day at 1.5 mph, once a day, flat belt. That is it. You are not training, you are proving to yourself that you will get on the thing.
Week two: add the hourly rule. Five to eight minutes on the hour, every hour you are at the desk, on top of the daily 15. This is where the step count actually moves, and it is also where most people quit, because it interrupts work. That interruption is the point. It is the thing my physical therapist was talking about.
Week three: two sessions of 20 minutes at 1.5 to 2 mph. Still flat. Keep the hourly walks.
Week four: introduce incline. Keep the speed where it is and raise the grade instead. This is the week the pad you bought for its incline starts earning its price.
Week five and beyond: hold the pattern and lengthen one session. If you take calls, walk during them at 1.5 mph and see whether the microphone picks up the belt.
One number to watch: cadence. Aim for 100 to 120 steps per minute at working speeds. If your step counter shows you under 100 at 2 mph, you are shuffling, and shuffling is how people get bored and sit down.
Noise, cadence, and the numbers worth keeping
Manufacturer decibel ratings are taken at idle, which is a polite fiction. Measure yours at ear height, in the room where you work, at the speed you actually walk. I keep mine in a spreadsheet with the date, because pads change as the belt breaks in and because I do not trust a memory.
Three things I log: noise at 1.5 mph, noise at 2 mph, and whether the wheels scrape the floor when I move the pad. That last one is a pet peeve of mine and it is worth checking on day one, along with wobble at 2.5 mph. If a pad wobbles at 2.5, that is your ceiling, no matter what the console says.
Do not publish or repeat a number you did not take yourself, and do not compare your reading to a box rating. They are not the same measurement.
What it costs, in the only math that matters
I am not going to quote you a price, because prices move and because the useful number is not the sticker. The useful number is this:
Total spent on pad plus desk plus mat, divided by the number of days you logged a walk.
Run that monthly. A setup that costs a few hundred dollars and gets used 200 days a year looks completely different from the same setup used 11 times before it goes under the bed. I have seen both, and I have been the second person.
Check current Amazon price on both pieces when you are ready to buy, and write the total in the planner on the day you order it. That entry is the start of the math.
When to stop
No running. Walking pads are not treadmills and the safety profile is different. Keep it at walking speed.
If your feet go numb, if you get tingling, or if your back hurts more after a walk than before it, stop and take that to a physical therapist rather than to a forum. Nothing here is medical advice and I am not going to pretend a pad fixes a disc.
Also stop if you are using the pad to avoid the walk you actually need, which is the one outside.
The short version
- Set desk height standing, then check deck clearance with the incline engaged.
- Put the remote where your hand falls without looking.
- Test the stop once, deliberately, on day one.
- Week one is 15 flat minutes. Add the hourly walks in week two. Add incline in week four.
- Log the walk in a calendar you have to move to sit down.
- Never raise speed and duration in the same week.
The pad is not the habit. The habit is a machine you can adjust without looking down, a desk that fits you standing, and a calendar that says you walked. Build those three things in that order and the walking takes care of itself.